What are Drawing Tools in Microsoft Word?
Unlock the hidden gems of Microsoft Word with its vast drawing tools! Whether you’re a pro or a casual user, these tools give you the power to express your creativity and make documents visually appealing. From basic shapes to complex illustrations, SmartArt Graphics, and more – there’s something for everyone. What are drawing tools in Microsoft word?
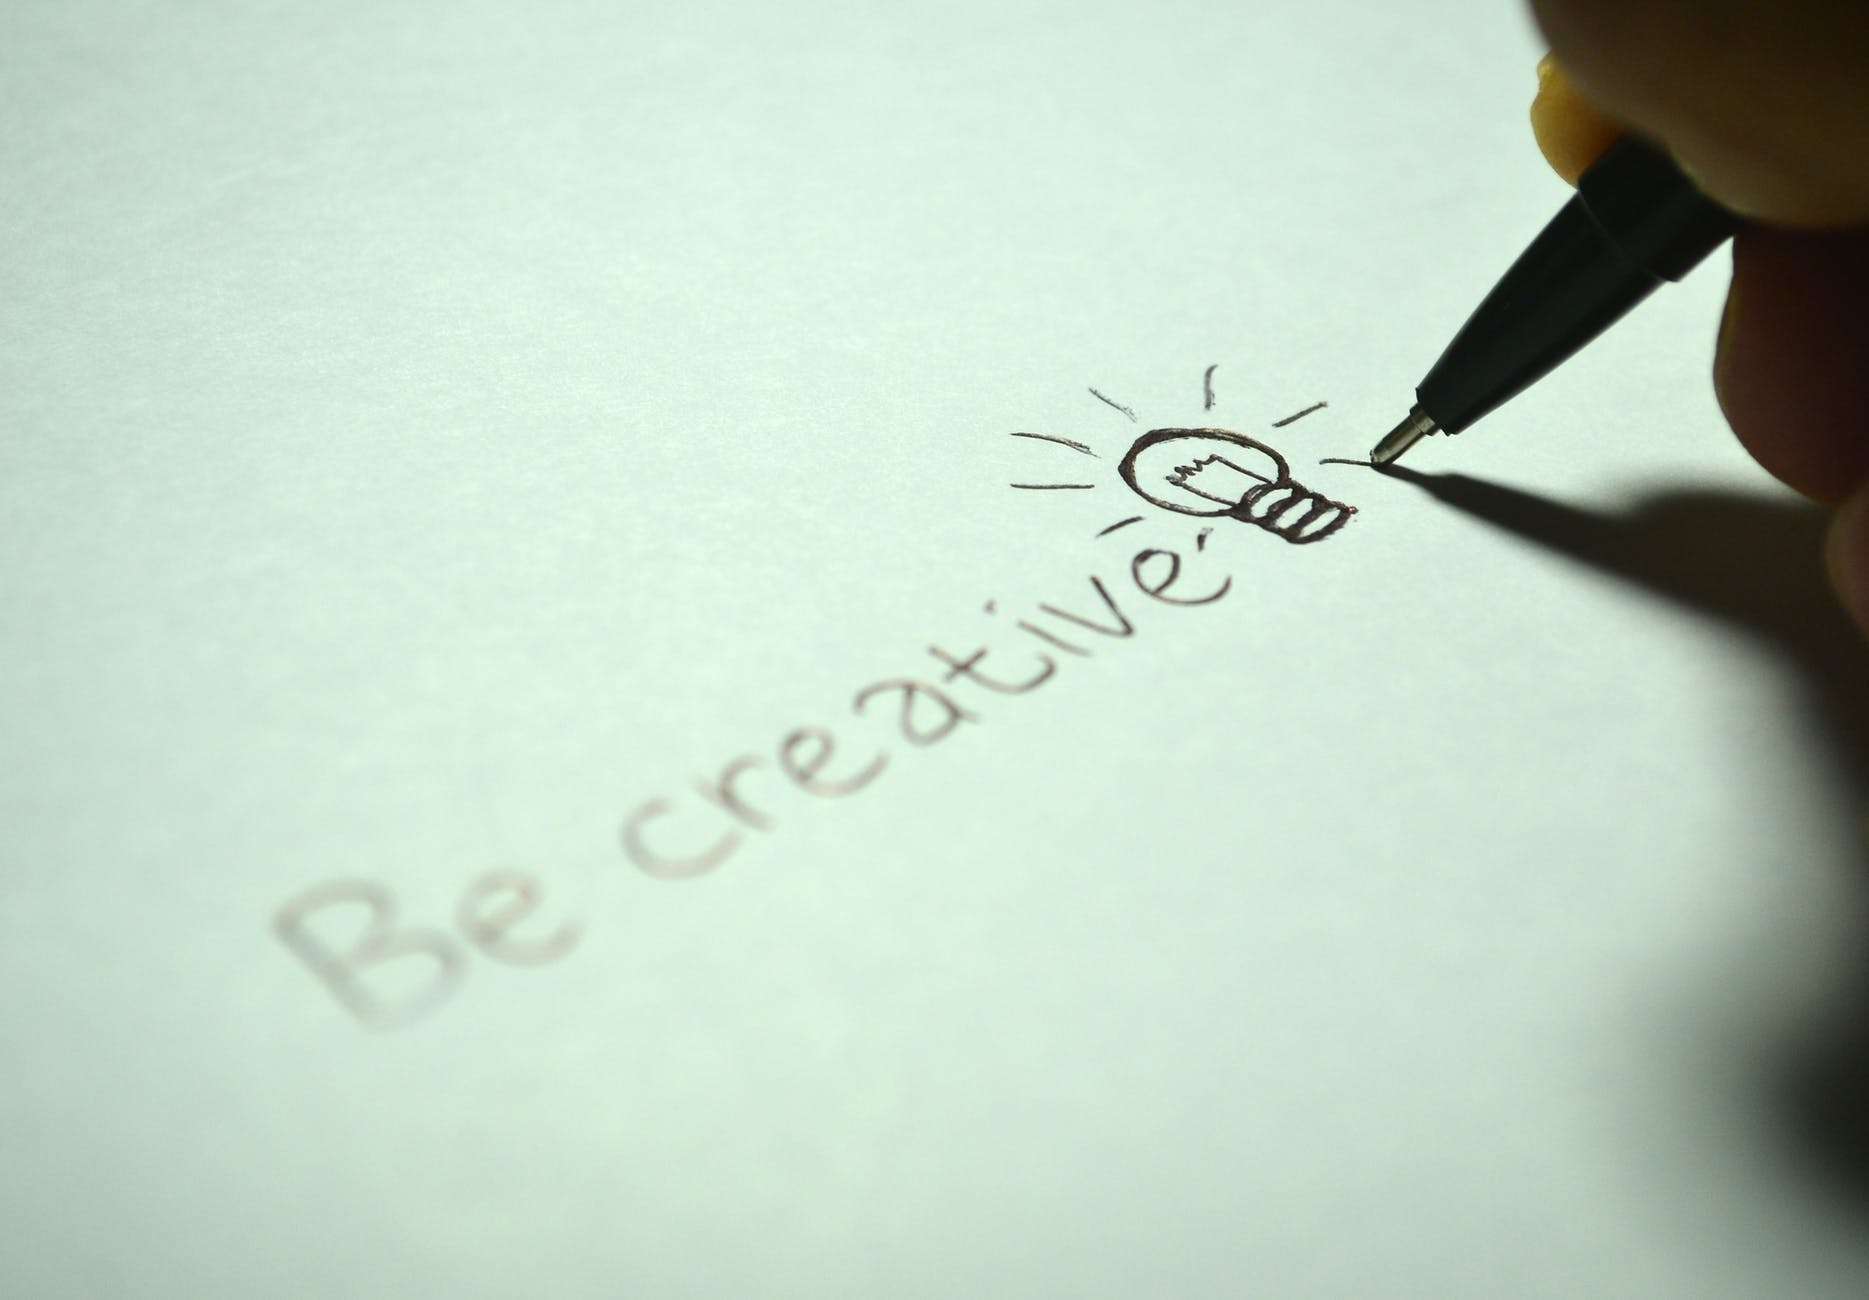
Get Drawing Tools in Microsoft Word

IT Policies and Procedures Template Manual | ABR34M Information Security Policy Manual
Here are some tips to help you get the most out of these drawing tools:
- Experiment! Change colors, add gradients or shadows, and adjust line thickness. Be daring and create unique visuals that stand out.
- Group objects together for easier movement and resizing. Select them all, right-click, and choose “Group” from the context menu.
- Use the alignment and distribution tools to make sure your design looks professional and well-balanced.
These suggestions will help you unleash your creativity and make the most out of the drawing tools in Microsoft Word. So draw away and create your masterpiece!
Overview of Drawing Tools in Microsoft Word
Unlock your creativity! Microsoft Word has a range of drawing tools for adding creative visuals to documents. You don’t need external software or graphic design skills. Let’s explore these tools and see how they can make your documents stand out.
Here’s an overview of the drawing tools:
- Shapes: Pre-designed shapes
- Text Box: Insert text boxes for better organization
- SmartArt: Create professional-looking diagrams and flowcharts
- Charts: Display data with customizable charts
- WordArt: Design text with artistic effects
- Picture: Insert or edit images
- Clip Art: Access a library of predesigned images
- Screenshot: Capture screenshots directly within Word
In addition, Microsoft Word also offers advanced features such as 3D models and ink drawings. With 3D models, you can transform flat visuals into 3D objects. Ink drawings allow you to use a touch screen or digital pen to create sketches or write directly on the document.
Mastering the Drawing Toolbar in Microsoft Word is like having an art class without paintbrushes. Start exploring these drawing tools now – impress your readers with visuals that enhance comprehension and leave a lasting impact!
Understanding the Drawing Toolbar
The Drawing Toolbar in Microsoft Word allows users to add and manipulate various graphic elements in their documents. With this toolbar, you can create shapes, lines, and images, as well as apply different formatting options to them. It provides a wide range of tools to enhance the visual appeal and organization of your document. Whether you want to create a flowchart, draw a diagram, or simply add some decorative elements, the Drawing Toolbar offers the necessary features to make your document visually engaging.
To provide a better understanding of the Drawing Toolbar, let’s break it down into different components:
Table – Understanding the Drawing Toolbar:
- Tool – Function
- Shapes – Allows you to insert pre-defined shapes such as rectangles, circles, arrows, and lines into your document. You can resize, rotate, and format these shapes to suit your needs.
- Lines – Gives you the ability to draw straight or curved lines and connectors between shapes. You can adjust the thickness, color, and style of the lines.
- Text Box – Enables you to add text in a separate box, which can be placed anywhere on the document. You can format the text box, change its size, and apply various styles to it.
- WordArt – Lets you create stylized text effects with various fonts, colors, and shapes. It allows you to bend, stretch, and distort the text to your liking.
- Clip Art – Provides a vast collection of pre-made images and illustrations that you can insert into your document. You can search for specific images or browse through different categories.
- Picture – Allows you to insert pictures from your computer or online sources. You can resize, crop, and format the pictures according to your preferences.
- Group – Enables you to combine different shapes, images, and text boxes into a single unit. This makes it easier to move, resize, and format multiple elements together.
- Rotate – Allows you to rotate or flip any selected object, including shapes, text boxes, and pictures. You can adjust the angle and direction of the rotation.
- Format – Provides options to change the appearance of selected objects, such as fill color, line color, shadow, and 3D effects. It also allows you to arrange the objects in layers and adjust their alignment.
- Arrange – Offers tools to adjust the order of objects, such as bringing them forward or sending them backward. You can also align and distribute objects evenly on the page.
These are just some of the tools available in the Drawing Toolbar, each serving its purpose in enhancing the visual elements of your document. By utilizing these features effectively, you can create professional-looking documents that effectively communicate your ideas.
Did you know that the Drawing Toolbar in Microsoft Word was first introduced in the 2007 version of the software? Since then, it has become an essential tool for users to add and manipulate graphical elements in their documents. (Source: Microsoft Word Official Website)
Shapes in Microsoft Word are like the awkward guests at a party, always showing up uninvited and demanding attention, but hey, at least they make the document look pretty.
Inserting Shapes
- Adding shapes to your document via the drawing toolbar is a cinch with these four steps:
- Open the drawing toolbar.
- Click the ‘Insert Shapes’ option then choose the desired shape.
- Click & drag to create the shape in the right spot.
- Voila! You’ve added a shape.
- Looking for something more creative? The drawing toolbar offers specialized shapes like arrows and stars. Plus, you can customize shapes with resizing & formatting options.
- To illustrate the usefulness of shapes, here’s a story: In an office meeting, a team was discussing graphs. To make things easier to understand, one person used the drawing toolbar to add shapes and highlight data points. This creative approach clarified things & sparked great conversations.
- Plus, with the Line Tool, you can connect fewer dots with straight lines. It’s easy!
Using the Line Tool
The Line Tool is a great feature of the Drawing Toolbar. It lets users add straight lines to their documents! Here’s a simple guide to use this tool:
- Step 1: Select the Line Tool from the Drawing Toolbar.
- Step 2: Click & hold mouse button at line start.
- Step 3: Drag cursor to endpoint & release mouse button.
Done! Now you can effortlessly enhance your documents with precision and accuracy. Plus, it offers extra options like changing line thickness, style & color. You can tailor your lines for your needs and preferences.
Unlock the full potential of your documents by mastering the Line Tool. Start using it today & experience new visuals in your work. Don’t miss out on the chance to make your documents look professional with impressive lines.
Also, don’t forget to add Text Boxes! Because life is too short for boring text. Jazz it up with a text box to make your words shine!
Adding Text Boxes
To add text boxes to your document, click the “Insert” tab in the toolbar at the top. Select “Text Box” from the drop-down menu. A box will appear where you can type and format text.
Advantages:
- Easy organization of content.
- Visually appealing way to present information.
- Flexibility in positioning and resizing.
Disadvantages:
- Aligning correctly can be challenging.
- May need adjustments when modifying content.
Keep these details in mind as you use text boxes in your documents.
Pro Tip: Use different font styles and sizes to make your content stand out! Get ready to take your drawing skills to the next level! Just don’t blame the toolbar if your art still looks like a potato.
Advanced Drawing Features
Advanced Drawing Features in Microsoft Word refer to the enhanced tools and options available for creating and editing drawings within the application. These features offer expanded functionalities for creating professional-level drawings and illustrations.
- Wide range of drawing tools: Microsoft Word provides a diverse selection of tools, such as shapes, lines, curves, and connectors, to create intricate and detailed drawings.
- Customizable formatting options: Users can easily modify the appearance of their drawings by adjusting properties like colors, line styles, and fill effects, allowing for greater creativity and personalization.
- Advanced editing capabilities: The application offers advanced editing features, including grouping and ungrouping objects, layering elements, and aligning and distributing objects, enabling users to have precise control over their drawings.
- SmartArt graphics: Microsoft Word includes a collection of pre-built SmartArt graphics that allow users to quickly create visually appealing diagrams and flowcharts without the need for manual drawing.
- Integration with other applications: Users can take advantage of the integration between Microsoft Word and other Office applications, like Excel and PowerPoint, to incorporate data-driven visualizations or import existing drawings seamlessly.
In addition to these advanced drawing features, Microsoft Word also offers tools for collaborating on drawings, such as allowing multiple users to work on the same drawing simultaneously and adding comments or annotations. These features further enhance productivity and streamline the creative process.
A unique feature of Microsoft Word’s advanced drawing tools is its ability to seamlessly integrate with other applications. This integration allows users to easily incorporate charts, diagrams, or drawings created in other Office applications into their Word documents, ensuring a cohesive and professional appearance.
For instance, the history of advanced drawing features in Microsoft Word can be traced back to the early versions of the application, where basic drawing capabilities were introduced. Over time, as the software evolved, more advanced tools and functionalities were added to enhance the drawing experience within Word. This continuous development and improvement have resulted in the comprehensive and feature-rich set of drawing tools available in the latest versions of Microsoft Word.
Grouping and ungrouping objects in Microsoft Word: because sometimes even digital objects need therapy sessions to sort out their messy relationships.
Grouping and Ungrouping Objects
Organizing and managing drawings can be made easier with grouping and ungrouping objects. Grouping together related objects lets you move and edit them as one, saving time. On the other hand, ungrouping objects allows you to make changes to them individually. To give you an example: the circle and triangle are grouped, while the rectangle stands alone, making changes to the grouped objects affect both of them, but not the rectangle.
Grouping and ungrouping objects is simple. To group them, select the objects using shift or control, then right-click on one of them and choose “Group” from the menu. To ungroup, follow the same process but select “Ungroup” instead.
By taking advantage of this feature, you have more control in managing your drawings and making edits. According to the Adobe Illustrator CC User Guide 2021 edition, it’s a vital part of creating complex illustrations – even stick figures will be impressed!
Formatting and Customizing Shapes
- Colors – From vibrant to subtle, shapes can be filled with an array of colors for enhanced visual appeal.
- Borders – Users can set the thickness, style, and color of borders for a variety of effects.
- Shadows – Adding shadows creates depth and makes shapes appear more realistic.
- Reflections – Reflections give shapes a mirror-like effect, giving them a glossy look.
- Transparencies – Adjusting the transparency level makes objects behind shapes visible, creating interesting layering effects.
- Effects – Special effects like gradients, 3D rotations, and bevels make shapes stand out.
- Text Formatting – Fonts, sizes, colors, and alignments can be applied within shapes.
- Patterns – Intricate patterns can be applied to shapes, for unique designs.
- Adobe Illustrator CC – It provides extensive shape customization options that give designers complete creative control.
- SmartArt Graphics – Basic shapes get a high-tech makeover for fascinating pie charts.
Using SmartArt Graphics
Let’s explore a practical example of SmartArt Graphics! Suppose you’re creating a presentation about animals. You can use this feature to show the various animal categories with images and text. Plus, SmartArt Graphics are highly customizable, allowing you to change colors, shapes, and layouts. You can also integrate them with other Microsoft Office apps, like Word and Excel.
Pro Tip: Always keep visuals and info balanced. Crowding your graphic with too much is not ideal, so try to make it concise. Master the art of drawing efficiently and you’ll be one step ahead of everyone else!
Tips and Tricks for Efficient Drawing
Drawing tools in Microsoft Word are invaluable for creating and editing various types of graphics and illustrations within a document. These tools offer a range of features and options that can help users achieve efficient and professional-looking drawings.
-
- Customizable shapes and lines: With Microsoft Word’s drawing tools, users have the ability to create and customize different shapes and lines according to their specific needs. These shapes can be easily resized, rotated, and flipped to fit the desired design.
- SmartArt graphics: Another helpful feature is the inclusion of SmartArt graphics, which enable users to represent complex information and concepts through visually appealing diagrams and charts. These graphics can be easily modified to suit the content and style of the document.
- Text wrapping: Drawing tools in Microsoft Word also allow users to wrap text around their drawings, ensuring a seamless integration between the text and the visual elements. This feature is particularly useful when incorporating graphics into a document with multiple columns.
- Alignment and arrangement: Users can further enhance their drawings by utilizing the alignment and arrangement tools. These tools enable precise positioning and grouping of objects, making it easier to create aesthetically pleasing and organized designs.
- Effects and formatting options: Lastly, Microsoft Word’s drawing tools offer a range of effects and formatting options, such as shadows, gradients, and 3D effects. These features allow users to add depth and style to their drawings, enhancing their visual impact.
- By using these drawing tools effectively, users can save time and effort in creating visually appealing and professional-looking documents. The ability to customize shapes and lines, utilize SmartArt graphics, wrap text, align and arrange objects, and apply effects and formatting options provides users with a wide range of possibilities for creating engaging and informative visuals.
- It is worth mentioning that while the drawing tools in Microsoft Word offer a convenient way to create graphics within the application, they may not provide the same level of flexibility and precision as dedicated graphic design software. Users seeking more advanced features and capabilities may need to explore other specialized tools.
- In the past, creating drawings and graphics within a word processing software like Microsoft Word was a complex and time-consuming task. Users had limited options and had to rely on external programs for more advanced graphics. However, with the introduction of drawing tools in Microsoft Word, users can now easily incorporate visually appealing elements into their documents without the need for additional software. This has greatly improved the efficiency and convenience of creating drawings within Word.
Aligning and distributing objects in Microsoft Word is like herding cats, except the objects don’t meow and they don’t secretly plot to overthrow you.
Using Alignment and Distribution Tools
Alignment and distribution tools are the key to creating efficient drawings. They enable you to align elements perfectly, or space them out evenly. Let’s take a closer look at these tools!
Alignment Tools:
- Snap to Grid: Pin objects to a predefined grid for precise alignment.
- Align Objects: Align multiple objects horizontally or vertically, with exact spacing.
Distribution Tools:
- Distribute Horizontally/Vertically: Evenly distribute elements in either direction.
- Space Evenly: Automatically space out objects evenly along an axis.
To maximize the benefits of these tools, group related elements before aligning or distributing them. Utilize keyboard shortcuts for faster access. Experiment with different alignments to find the most visually appealing design.
In summary, mastering the use of alignment and distribution tools will help you create polished, professional drawings. So why wait? Start using these tips today and watch your designs come to life with greater accuracy and appeal!
Using the Ruler and Gridlines
Using the ruler and gridlines can make your drawings more efficient. These tools give precise measurements and help align objects accurately. Here’s what they offer:
- Benefit: Accuracy. Ruler gives exact measurements of length.
- Benefit: Alignment. Gridlines help align elements uniformly.
- Benefit: Proportions. They keep your objects’ proportions right.
- Benefit: Perspective. Ruler helps you get proper perspective in drawings.
These tools save time by taking out guesswork in positioning elements. It also makes your artwork consistent. To get the most out of them, use these tips:
- Tip 1: Choose a unit of measurement, like inches or centimeters. This keeps the artwork consistent.
- Tip 2: Adjust the space between gridlines depending on the size and complexity of the drawing. Finer grids are perfect for detailed work while larger grids suit larger compositions.
- Tip 3: Use horizontal and vertical guidelines with rulers to make accurate angles and proportions.
- Tip 4: Experiment with different perspectives. Ruler helps maintain proper perspective when drawing 3D objects.
By following these suggestions, you’ll find that utilizing the ruler and gridlines is easy. It makes your drawings more efficient and precise. Need to abstractly rearrange elements? Try the Selection Pane.
Using the Selection Pane
The Selection Pane provides extra options. Like, hiding or showing elements. Just by clicking on the eye icon next to an object’s name. It was first introduced in graphic design software in the early 2000s. This tool revolutionized how artists and designers interacted with their creations.
It has since become a must-have feature in many drawing applications. It gives users more control and flexibility. Even if your drawings look like abstract blobs. You can still proudly call it the newest avant-garde art movement.
Drawing Tools in Microsoft Word
Microsoft Word’s drawing tools let users be creative in a professional way. They provide lots of options for making diagrams, charts, and illustrations easier to understand. There are shapes, lines, colors, and formatting that look great. With these tools, complex info can be illustrated. They can be used to make organizational charts, flowcharts, and more.
Gridlines and alignment guides help make diagrams precise. The snap-to-grid feature is a great time-saver. It auto-aligns objects with each other or page margins. Plus, multiple users can work on the same document at the same time. This expedites communication, leading to faster decision-making.
Frequently Asked Questions
 1. What are drawing tools in Microsoft Word?
Answer: Drawing tools in Microsoft Word are a set of features and functions that allow users to create and modify graphical elements such as shapes, lines, arrows, and diagrams within a Word document.
2. How do I access the drawing tools in Microsoft Word?
Answer: To access the drawing tools in Microsoft Word, click on the “Insert” tab in the Ribbon, and then click on the “Shapes” button. A dropdown menu will appear with various drawing tools and options.
3. What can I do with the drawing tools in Microsoft Word?
Answer: With the drawing tools in Microsoft Word, you can create and customize shapes, add text to shapes, draw lines and arrows, create flowcharts and diagrams, and even resize, rotate, or change the colors of the elements.
4. Can I import images or pictures into the drawing tools in Microsoft Word?
Answer: Yes, you can import images or pictures into the drawing tools in Microsoft Word. You can either insert an image from a file or copy and paste an image from another source into your Word document, and then use the drawing tools to manipulate and enhance the image as desired.
5. Are the drawing tools in Microsoft Word available in all versions of the software?
Answer: The availability of drawing tools may vary depending on the version and edition of Microsoft Word. However, most versions of Word, including Word 2010, Word 2013, Word 2016, Word 2019, and Word for Microsoft 365, provide a range of drawing tools for creating and editing graphical elements.
6. Can I use the drawing tools in Microsoft Word to create professional-looking documents?
Answer: Yes, the drawing tools in Microsoft Word can be used to create professional-looking documents by adding visual elements, diagrams, and illustrations to enhance the overall presentation and readability of your content. However, it is also important to maintain a balance between the use of graphical elements and the readability of the text.


Leave a Reply