How to Delete An Invoice In QuickBooks
Are you looking to streamline your invoicing process using QuickBooks? In this comprehensive guide, we will delve into the intricacies of managing your invoices within the QuickBooks platform. From understanding the fundamentals of QuickBooks and invoices to learning the step-by-step process of creating, deleting, and recovering invoices, we’ve got you covered. How to Delete An Invoice In QuickBooks.
Whether you’re a small business owner, freelancer, or accountant, mastering the art of invoice management in QuickBooks can significantly enhance your financial efficiency. So, let’s dive into the essential steps and insights to maximize your invoicing potential within QuickBooks.
What Is QuickBooks?

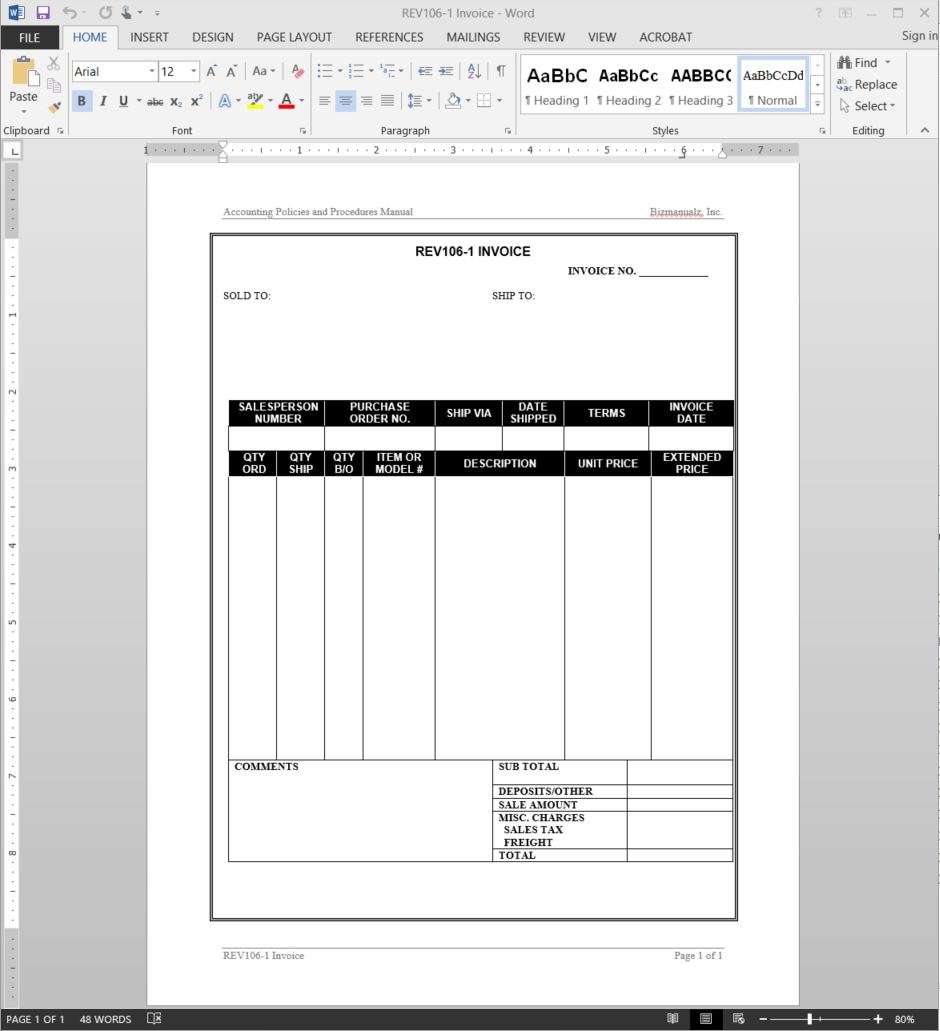
Accounting Policies and Procedures Manual | ABR31M
QuickBooks is a popular accounting software used by businesses to manage their financial records, billing, and invoicing.
It provides a user-friendly interface for recording transactions, tracking expenses, generating reports, and facilitating online payments. With its cloud-based functionality, QuickBooks enables users to access their financial data from anywhere, anytime, ensuring seamless collaboration and remote working.
It offers features such as inventory management, payroll processing, and tax preparation, making it an all-in-one solution for small to medium-sized enterprises.
The automated processes within QuickBooks streamline accounting tasks, reducing the potential for errors and saving valuable time for business owners and financial professionals alike.
What Is An Invoice In QuickBooks?
An invoice in QuickBooks is a financial document used to request payment for goods or services provided, and it serves as a record of the transaction within the accounting software.
It plays a crucial role in the billing process by providing a detailed breakdown of the products or services rendered, along with the corresponding costs. Invoices in QuickBooks are essential for maintaining accurate financial records and tracking outstanding payments.
Integration of invoice management in QuickBooks streamlines the process, allowing businesses to generate, send, and track invoices efficiently. This, in turn, simplifies the overall financial management and enhances the organization’s ability to monitor cash flow and receivables.
How To Create An Invoice In QuickBooks?
Creating an invoice in QuickBooks involves a straightforward process that allows users to generate detailed billing documents for their customers or clients.
First, open QuickBooks and select the option to create a new invoice. Then, input the customer’s details, including their name, address, and contact information. After that, add the products or services provided to the customer, along with their respective prices and quantities.
QuickBooks also enables users to customize the invoice template, adding their company logo, payment terms, and personalized messages. Once all information is filled in, review the invoice for accuracy and send it directly to the customer through QuickBooks.
What Are The Steps To Delete An Invoice In QuickBooks?
Deleting an invoice in QuickBooks involves a series of steps to remove the billing record from the system and adjust the financial transactions accordingly.
To delete an invoice in QuickBooks, start by accessing the company file and locating the “Customers” menu. From there, choose the “Customer Center” and locate the specific invoice that needs to be deleted.
Once identified, open the invoice and select the “Delete” option. QuickBooks will prompt for confirmation, and upon approval, the invoice will be permanently removed from the system. It’s crucial to review any related transactions or balances to ensure that the deletion does not adversely impact the overall financial records.
Step 1: Open QuickBooks and Select ‘Invoices’
To begin the process of deleting an invoice in QuickBooks, open the QuickBooks software and navigate to the ‘Invoices’ section.
Once you have accessed the ‘Invoices’ section, locate the specific invoice that you wish to delete. Click on the invoice to open it, and then look for the delete or trash icon. Select the invoice and then click on the option to delete it.
This will prompt a confirmation message to ensure that you want to delete the invoice. Once confirmed, the invoice will be permanently deleted from your QuickBooks records. It’s important to double-check before deleting to avoid any unintentional removal of important invoices.
Step 2: Find the Invoice You Want to Delete
Once in the ‘Invoices’ section, locate the specific invoice that you want to delete from the list of billing records.
You can narrow down your search by using filters such as invoice number, customer name, or date range to quickly pinpoint the targeted invoice. You can utilize the search bar to enter specific keywords related to the invoice, making the process of identifying and managing invoices more efficient.
Once you have located the desired invoice, you can proceed to delete it by selecting the appropriate options provided within the QuickBooks system.
Step 3: Click on the Invoice and Select ‘Delete’
After identifying the invoice, click on it to access the options and then select the ‘Delete’ function to initiate the removal process within QuickBooks.
Once you have clicked on the invoice and selected the ‘Delete’ function, QuickBooks will prompt a confirmation window to ensure that you want to proceed with the deletion. Confirm the action to permanently remove the invoice from the system. It’s essential to double-check the details before confirming the deletion, as this action cannot be undone.
After confirming, the invoice will be removed from the records, and you will receive a notification confirming its deletion. This process ensures that the invoice management within QuickBooks remains organized and accurate.
Step 4: Confirm the Deletion
Upon selecting ‘Delete’, QuickBooks will prompt you to confirm the deletion of the invoice, ensuring that the action is intentional and irreversible.
This confirmation step is crucial to prevent accidental deletion of important invoices. When prompted, you will need to re-enter your QuickBooks credentials or provide a verification code sent to your registered email or phone number. This ensures that only authorized individuals can proceed with the deletion.
Once the confirmation is made, QuickBooks will display an acknowledgment message, confirming that the invoice has been successfully deleted from the system.
What Happens After Deleting An Invoice In QuickBooks?
Upon deleting an invoice in QuickBooks, several consequential actions take place to ensure the accurate management of financial records and billing processes.
The deletion of an invoice triggers adjustments in financial data, impacting accounts receivable and revenue recognition. It requires meticulous updating of financial statements and reports to reflect the altered billing status.
The removal of an invoice might necessitate communication with clients or customers to rectify any discrepancies and maintain transparency. This action also influences the auditing process, as it requires thorough documentation and justification for the deletion to ensure compliance and accuracy in the accounting processes.
The Invoice Will Be Removed from the List of Invoices
The deleted invoice will no longer appear in the list of invoices within QuickBooks, ensuring that it is effectively removed from the active billing records.
As a result, users will no longer be able to locate the invoice in their dashboard or reports, potentially impacting their ability to track payments and manage outstanding balances. This deletion could also affect the overall accuracy of financial statements and reports, as the deleted invoice’s data will no longer contribute to the balance or income calculations.
Therefore, it’s crucial for users to carefully consider the consequences of deleting an invoice and ensure that proper documentation and backup records are maintained for comprehensive financial management.
The Invoice Number Will Be Skipped in Future Invoices
Following the deletion, the invoice number associated with the removed record will be skipped in future invoices, preventing any duplication or confusion in the billing sequence.
This can lead to a break in the sequential order of invoice numbering, affecting the systematic organization of billing records in QuickBooks. As a result, it is important to manage and update the invoice numbering system to ensure accuracy in future billing processes. With proper record management, potential discrepancies and errors can be avoided, maintaining the integrity and consistency of financial records within the software.
Any Payments or Credits Applied to the Invoice Will Be Removed
All associated payments or credits that were applied to the deleted invoice will be removed from the financial records, ensuring accurate and updated billing information.
This adjustment may result in changes to the accounts receivable balance and the general ledger to reflect the accurate financial status. In QuickBooks, it is essential to review the transaction history to trace the impact of the deleted invoice and ensure that the corresponding adjustments are accurately recorded. This process involves meticulous attention to detail to maintain the integrity of the financial data and avoid discrepancies.
By managing these adjustments diligently, businesses can preserve the accuracy and reliability of their financial records.
Can You Recover A Deleted Invoice In QuickBooks?
Recovering a deleted invoice in QuickBooks is possible through specific methods, including utilizing backup files or seeking assistance from QuickBooks support.
Utilizing backup files involves accessing the most recent backup that includes the deleted invoice and restoring it. It’s essential to ensure that the backup contains the necessary information and that the restoration process doesn’t overwrite any important data.
On the other hand, contacting QuickBooks support can provide professional guidance on retrieving the deleted invoice and safeguarding against potential data loss in the future. It’s crucial to weigh the pros and cons of each approach to determine the most suitable method for recovering the deleted invoice in QuickBooks.
Check the Trash Folder
One method to recover a deleted invoice in QuickBooks involves checking the ‘Trash’ or ‘Deleted Items’ folder within the software to identify and restore the removed record.
Once the ‘Trash’ or ‘Deleted Items’ folder is accessed, users can search for the specific invoice by using filters such as date, invoice number, or customer name. Once the deleted invoice is located, the user can select the record and choose the option to restore it. It’s essential to ensure the accuracy of the retrieved invoice to avoid any discrepancies in financial records.
Regular backups of the data can serve as an extra layer of protection to prevent the loss of important invoices.
Use a Backup File
Utilizing a backup file created prior to the deletion allows users to restore the deleted invoice by importing the relevant financial data back into QuickBooks.
This process involves accessing the backup file from a previous date when the invoice was still present and then navigating to the ‘Restore’ option within QuickBooks. Once the backup file is selected, users can follow the on-screen prompts to initiate the restoration process. It’s crucial to ensure that the backup data is from a time before the deletion occurred to prevent the loss of any subsequent changes.
Utilizing backups for data recovery highlights the importance of regular backup management to safeguard against unexpected data loss incidents in QuickBooks.
Contact QuickBooks Support
In cases where manual recovery methods are unsuccessful, contacting QuickBooks support provides users with the opportunity to seek professional assistance in recovering the deleted invoice.
QuickBooks support can guide users through alternative methods for retrieving the deleted invoice, including accessing backups or using specialized tools to recover the data. When reaching out to QuickBooks support, users may benefit from the expertise of the support team, who can offer personalized assistance based on the specific circumstances of the invoice deletion.
QuickBooks support may also provide insights into preventing future occurrences of invoice deletion and offer recommendations for implementing robust backup practices to safeguard important financial data.

Frequently Asked Questions

How do I delete an invoice in QuickBooks?
To delete an invoice in QuickBooks, go to the Invoices tab and select the invoice you want to delete. Then, click on the ‘Delete’ button at the bottom of the screen. Confirm the deletion and the invoice will be permanently removed from your records.
Can I undo a deleted invoice in QuickBooks?
No, once an invoice has been deleted in QuickBooks, it cannot be undone. It is important to double check and confirm the deletion before proceeding.
Is it possible to recover a deleted invoice in QuickBooks?
No, once an invoice has been deleted in QuickBooks, it cannot be recovered. It is recommended to keep a backup of your data to avoid permanent loss of important records.
What happens to the associated transactions when I delete an invoice in QuickBooks?
When an invoice is deleted in QuickBooks, all associated transactions such as payments, credits, and refunds will also be deleted. Make sure to review all related transactions before deleting an invoice.
Can I delete an invoice that has already been paid in QuickBooks?
Yes, you can delete an invoice that has already been paid in QuickBooks. However, all associated payment transactions will also be deleted. It is recommended to void the payment first before deleting the invoice.
Is there a way to temporarily hide an invoice instead of deleting it in QuickBooks?
Yes, you can make an invoice inactive in QuickBooks instead of deleting it. This allows you to keep the record for future reference without displaying it in your records. You can make an invoice inactive by selecting the ‘Make Inactive’ option in the Invoices tab.


Leave a Reply